
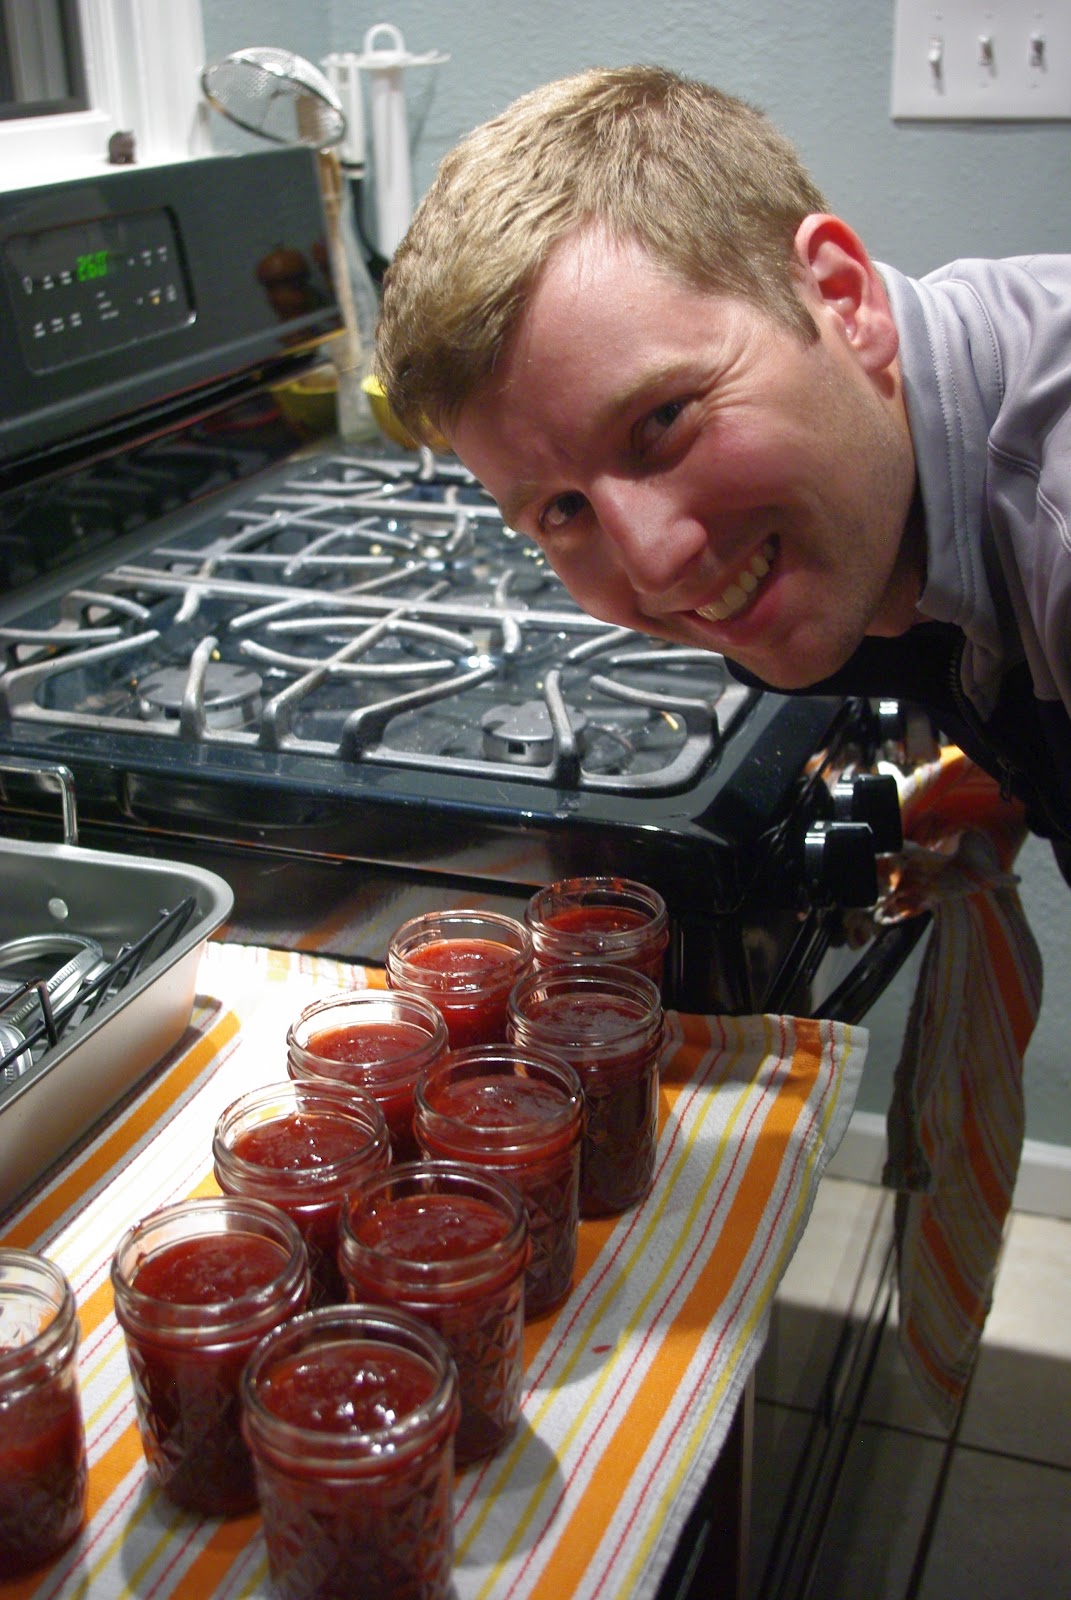
Well, we've made three jams so far, so we're getting there! They are so delicious and fresh. And it's really not that hard. Especially when Joef does most of the work. We're still experimenting a bit with consistency, probably the toughest thing to master - we've had two that are a little runnier than ideal, and one that's a little chunky, but all three have legitimately been jam. We eat it on toast, waffles, even as ice cream topping.
The three we've made to-date have been: Strawberry-Rhubarb Bourbon, Blackberry-Raspberry Petite Syrah, and Mango. The instructions are essentially the same each time:
 7 lbs of your fruit of choice (we pared and halved the strawberries, and cubed and mashed the mangoes)
7 cups of sugar
2 cups booze of your choice (or, in the case of the mango, none at all)
Juice of 1-3 lemons, depending on the sweetness of the fruit and your personal taste
12 jars
Preheat the oven to 260, and wash your jars. Put the jars and the part of the lids without the rubber into the oven for the duration of the cooking.
Combine all of the ingredients into a massive pot. The liquid will obviously boil down faster if you use a wider pot with more space for evaporation. Stir and cook on very high heat until it reaches a rolling boil, then turn down the heat slightly, while still keeping it at a rolling boil, and stir constantly until it thickens and starts to appear somewhat oily and shimmery on the surface (at least 30 minutes). To test its readiness, put a small drop on a spoon and place it in the freezer for three minutes, while continuing to cook the jam. If it's the consistency you'd want your final product to be when it comes out of the freezer, it's done. Otherwise, keep on cooking and freezer-testing as needed.
When your jam is done, take the jars out of the oven, but keep the oven on. Spoon the jam into the jars, and tighten the lids. Place back into oven for twenty minutes.
Your jam is ready when the lids pop and you can't push them down again (it means they're sealed). Once you've opened a jar, store it in the fridge. Enjoy!

No comments:
Post a Comment