Showing posts with label cake. Show all posts

Monday, August 13, 2012

La Piccina Cucina: Camping Edition #2

Every two years or so, Joef and I grab a few innocent and unsuspecting souls and drag them out to the Boundary Waters between Minnesota and Canada. This summer was my third trip and Joef's fifth, and it did not disappoint. It's some of the most beautiful, pristine wilderness I've ever seen, and I'll go back again and again. I mean, what's not to love about canoeing 20 miles a day with portages in between?

Last trip out, I posted about our handpicked blueberry compote. We were a little too early in the season this year for berries, but we did make a point of getting creative with cooking this time around. 

There was the usual fresh-caught fish (bass), fried:

But we also got experimental, with things like modified hummus (chickpeas, garlic, olive oil, sesame seeds, lemon, salt, and zatar are all easy to pack): 
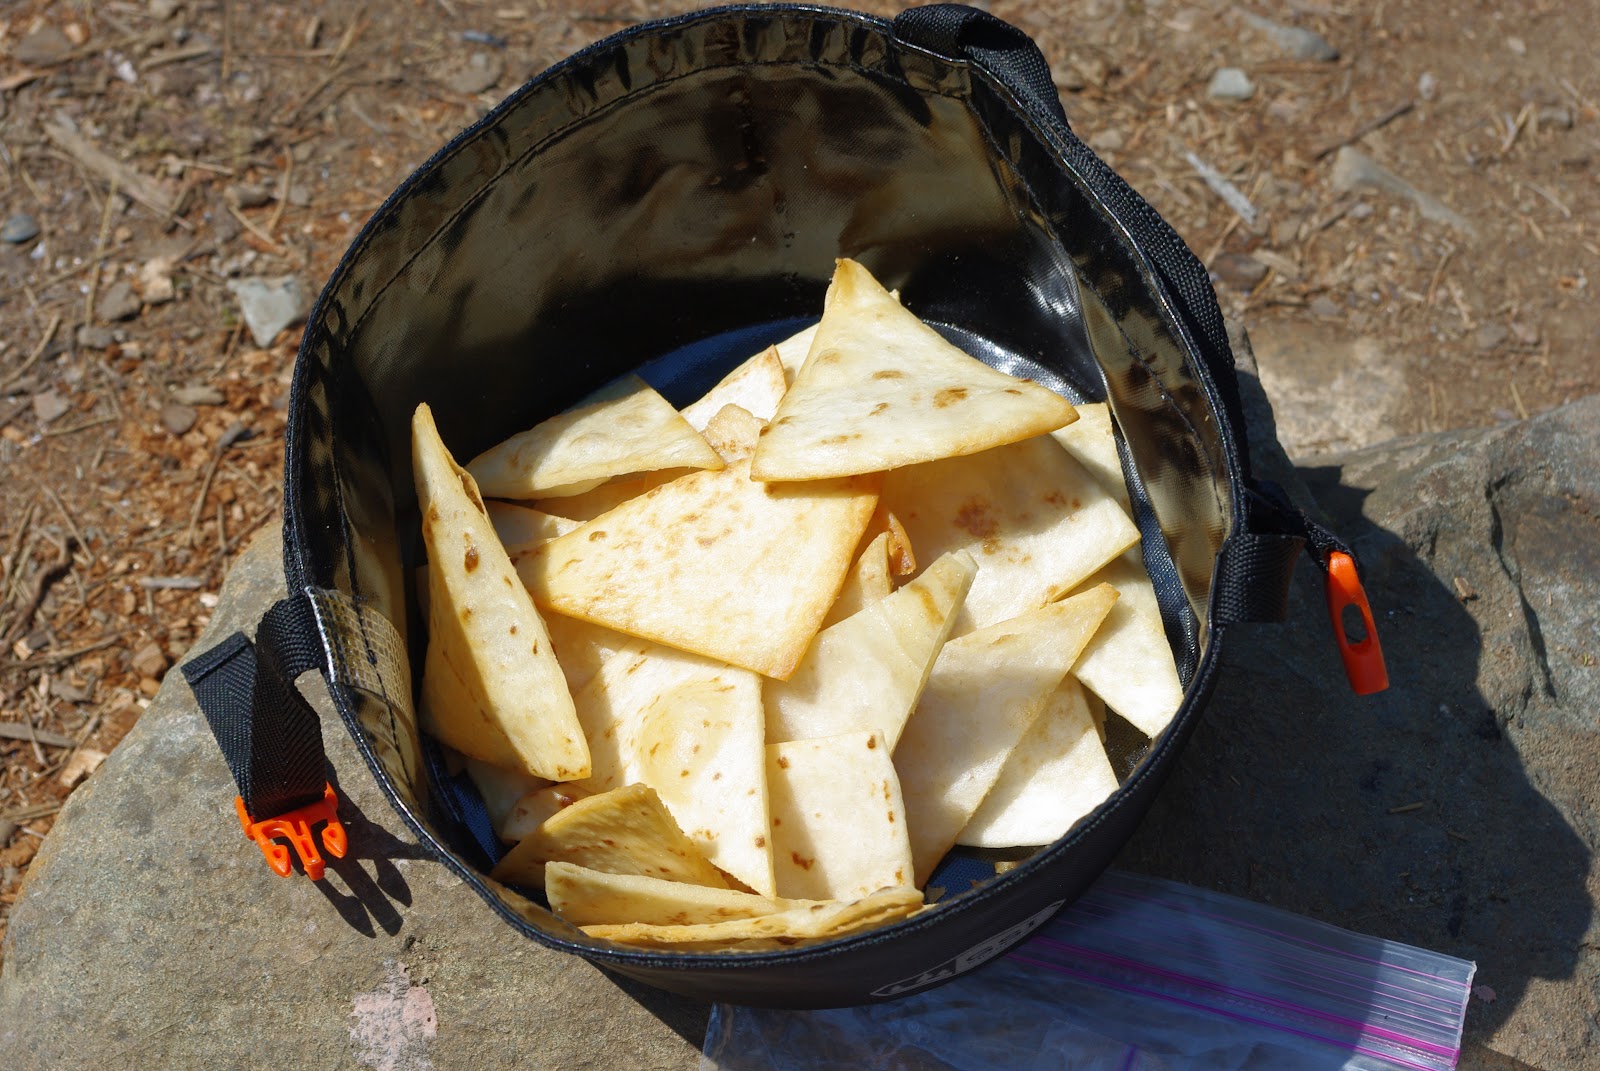
Enjoy them with tortilla chips (cut tortillas into triangles and fry them up):
And we even made pasta, with pesto (paste) and sundried tomatoes:
The coup de grĂ¢ce was cake baked in an orange peel. Now, it should be noted that the final outcome, taste-wise, could probably, er, be improved upon. But the concept is sound! Next time, we'd only fill the oranges halfway, and would either put them on top of the grill, or further from the fire. There was a bit of an ashtray effect. But we MADE CAKE IN THE WILDERNESS! With sparkly frosting!
Choose a batter that doesn't require eggs. Slice just the top off an orange, and scoop out the insides. Mix your batter, and spoon it into the orange.
Secure the top of the orange with toothpicks.
Place the batter-filled orange(s) near the fire. Rotate now and then to heat all sides. Cook for...um...20 minutes? Eyeball it.
Remove the oranges from the fire. Allow to cool, then remove the tops.
Spoon out the cake and dab with frosting!

It was an amazing trip with amazing people. Plus, no injuries! Here we are, just after getting off the water:


Monday, May 16, 2011

Chocolate Lava Cake

(from...sigh...Woman's Day)

This is how much I love my husband: I, against my better judgment, bought a copy of Woman's Day magazine because it had a picture of a chocolate lava cake on the cover ("We *heart* this 15-minute warm chocolate dessert!") and it seemed like he might die of privation if we didn't go home and make it immediately. And yes, yes, the cake was worth the obnoxious magazine purchase.

This is the second time I've made these, and I will say there is one thing I can't figure out. The recipe says you're supposed to take the ramekins out of the oven, let them sit for under a minute, and then flip them over to let the cake drop out. Number one, those things are baking-hot and it's not easy to maneuver a ramekin with giant oven mitts on. Number two, I just can't get them to pop out all nice and pretty. Some of the cake inevitably gets left behind in the ramekin. Maybe if I let it sit in there longer. In any case, I gave up and opted for just serving it right in the ramekin. Now, this means you can't see the melty, molten chocolate center (it's there, I tell you!), but hey. Use your imagination.

For two mini-cakes:
4 tbsp unsalted butter (gasp), plus more for the ramekins
1 tbsp flour, plus more for the ramekins
1/3 cup bittersweet chocolate chips (these are a few of my favorite thiiiiiings...)
1 large egg + 1 large egg yolk
2 tbsp granulated sugar

Heat oven to 450. Butter two 6 oz ramekins and dust the insides with flour.

Place the butter and chocolate in a glass bowl and microwave on high in 20-second intervals, stirring after each, until the chocolate is melted and smooth.

Using an electric mixer, beat the egg and sugar in a medium bowl until thick and lighter in color, about 1 minute. Add the melted chocolate and flour and beat until combined and smooth.

Divide the batter between the two ramekins, and bake until the edges are set, about 8-10 minutes. (Here's where it gets...difficult.) Let stand for 15 seconds. Run a knife around the edge, then invert each cake onto a plate (if you figure this out, tell me; otherwise, just eat it out of the ramekin). Dust with confectioner's sugar if you have it, and garnish with mint if you just happened to have made mint juleps.

Sunday, April 18, 2010

Devil's Food Layer Cake


(from "Comfort Food", by Rick Rodgers)

So Joef and I have an ongoing battle about whether or not I like (or rather, don't like) cake. You'd think he'd just take my word for it, except that there have been, on certain occasions, cakes that I've liked, which hurts my case a bit. Take, for example, the cake from McArthur's Bakery in St. Louis that we had at our wedding, which was unbelievably good. That was the first time I actually understood why people crave cake.

Tonight's cake (another cooking first for me) was not McArthur's. But I did like it very much. Now, I only had a small piece, and I'd still choose pie, or something with cheese or bacon, over it. As it stands, however, it looks like Joef can put another tally in his "Julia likes cake" count. Darn him. :)

CAKE
1 cup boiling water
3/4 cup unsweetened natural cocoa powder
1 3/4 cups flour
1 1/2 tsp baking soda
1/4 tsp salt
2 cups sugar
1/2 cup (1 stick, gulp) unsalted butter, plus 2 tbsp (warmed to room temp)
3 eggs
1 tsp pure vanilla extract
1 1/4 cups buttermilk

FROSTING
3 3/4 cups confectioner's sugar (same as powdered sugar, as it turns out)
1 cup unsweetened natural cocoa powder
1/2 cup (1 stick) unsalted butter (warmed to room temp)
1 tsp pure vanilla extract
1 cup or so heavy cream

Preheat the over to 350. Lightly butter two 9-inch, round cake pans. Line the bottoms of the pans with a circle of parchment paper. Lightly dust the pans with flour and tap out the excess.

In a small bowl, whisk together the boiling water and cocoa until smooth. Put it in the fridge to let it cool completely. (Word of warning: this will smell delicious. It will taste, however, like burnt-rotten-awfulness. Do not taste it. Even a little bit. Seriously.) In another bowl, mix together the flour, baking soda and salt. In yet another bowl, a large one, beat the sugar and butter together with a handheld mixer on medium-high. I recommend cutting the butter into chunks first. Once the sugar and butter are combined, beat in the eggs one at a time. Then beat in the vanilla and the cooled cocoa mixture. Reduce the speed on the mixer to low and add the flour mixture in 3 parts, alternating with the buttermilk in two parts. Start and end with the flour. (So - flour, buttermilk, flour, buttermilk, flour.)

Divide the batter evenly between the two cake pans and smooth the tops. Pop in the oven for about 35 minutes. You'll know you're close when the sides of the cake start to pull away from the sides of the pan.

Remove the cakes and let them cool in their pans for 15 minutes. Run a knife along the inside of each pan to release the cake. Then invert the pans onto a plate, lift away the pans, and peel off the parchment. Turn the cakes right side up and let them cool.

Now you can work on the frosting. In a bowl, combine the powdered sugar and the cocoa. Slice up the second stick (oh my God) of butter and add it to the sugar and cocoa, then mix it all together using the handheld mixer on low. Mix in the vanilla. Finally, mix in the cream gradually, until it makes a spreadable frosting (I ended up adding more than a cup of cream, but I'd start there).

Once the cake is cool, place one of the layers on a plate, then spread the frosting on top to your taste. Place the second layer (the recipe says top side down, which I forgot to do, but which probably would work better for slipping) on top of the other, frosted, layer. Frost the rest of the cake, starting with the top and finishing with the sides.