Showing posts with label fruit. Show all posts

Saturday, October 27, 2012

Homemade Jam

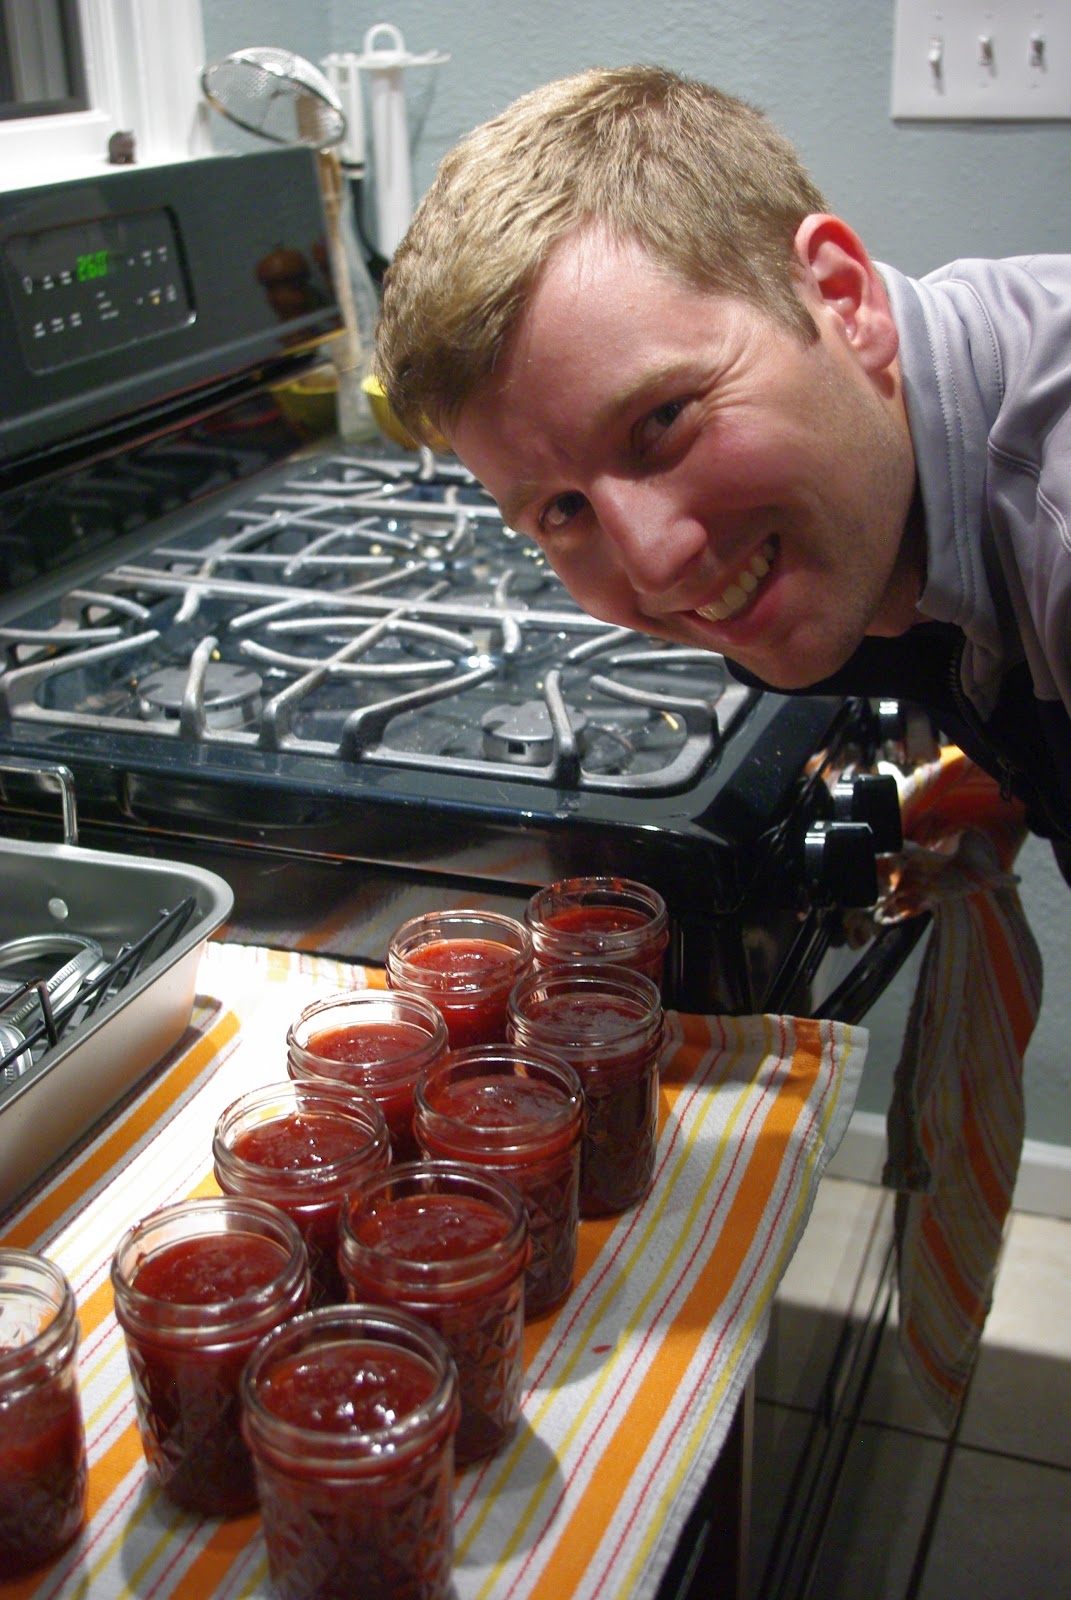
Joef and I recently discovered the joys of making homemade jam. On a whim one night, we went to the local grocery store. I asked the first staff person there where I could find the jamming jars. We found them, and then she hovered around. "What kind of jam are you making?" "Oh, I donno...we were thinking peach?" "Oh." "....Do you, um, have any suggestions?" Did she ever! About twenty minutes later, she had sent us off with recipe ideas, guidance on how to seal and purify the jars, instructions on how to make jam without pectin, proportions...pretty much everything you ever wanted to know about jamming. Including the fact that it's called "jamming", and those who jam regularly are called, as she referred to herself, "jammers".

Well, we've made three jams so far, so we're getting there! They are so delicious and fresh. And it's really not that hard. Especially when Joef does most of the work. We're still experimenting a bit with consistency, probably the toughest thing to master - we've had two that are a little runnier than ideal, and one that's a little chunky, but all three have legitimately been jam. We eat it on toast, waffles, even as ice cream topping.

The three we've made to-date have been: Strawberry-Rhubarb Bourbon, Blackberry-Raspberry Petite Syrah, and Mango. The instructions are essentially the same each time:

7 lbs of your fruit of choice (we pared and halved the strawberries, and cubed and mashed the mangoes)
7 cups of sugar
2 cups booze of your choice (or, in the case of the mango, none at all)
Juice of 1-3 lemons, depending on the sweetness of the fruit and your personal taste
12 jars

Preheat the oven to 260, and wash your jars. Put the jars and the part of the lids without the rubber into the oven for the duration of the cooking.

Combine all of the ingredients into a massive pot. The liquid will obviously boil down faster if you use a wider pot with more space for evaporation. Stir and cook on very high heat until it reaches a rolling boil, then turn down the heat slightly, while still keeping it at a rolling boil, and stir constantly until it thickens and starts to appear somewhat oily and shimmery on the surface (at least 30 minutes). To test its readiness, put a small drop on a spoon and place it in the freezer for three minutes, while continuing to cook the jam. If it's the consistency you'd want your final product to be when it comes out of the freezer, it's done. Otherwise, keep on cooking and freezer-testing as needed.

When your jam is done, take the jars out of the oven, but keep the oven on. Spoon the jam into the jars, and tighten the lids. Place back into oven for twenty minutes.

Your jam is ready when the lids pop and you can't push them down again (it means they're sealed). Once you've opened a jar, store it in the fridge. Enjoy!

Sunday, August 29, 2010

Peach Hand Pies


(filling and concept adapted from Smitten Kitchen)

I've been wanting to make hand pies ever since the first time I heard the phrase "hand pie". There is something incredibly appealing about that term - it just sounds so comforting and delicious. So when I found myself with more fruit than I could possibly eat before it went bad after a fruit-picking (apples, peaches, and asian pears!) trip to a local orchard, it was time to fulfill the dream, as it were. And this time, I remembered to use my mom's much-easier-and-equally-delicious crust recipe, this time. Bonus!

FILLING
2 pounds of peaches
1/4 cup flour
1/4 cup sugar, plus - I used more because my peaches weren't quite ripe
Pinch of salt
1 teaspoon bourbon, if you have it - I used drambuie
1/2 teaspoon vanilla extract

Peel and chop the peaches into small chunks. Mix them with the flour, sugar and pinch of salt, and add the drambuie and vanilla. Add more sugar to taste. Set aside for awhile if you have the time - I let them sit for about an hour plus.

CRUST
1 1/2 cups flour
1 stick butter, cut roughly into tablespoons
1-2 tbsp sugar
1/4 cup cold water

EXTRAS
1 large egg + 1 tbsp water, beaten - to act as the glaze
Extra sugar for dusting

The less you handle the crust mixture, the better - it makes for a flakier crust. Combine the flour, sugar, and butter in a bowl, and mix with your hands until fluffy and combined. Add the cold water, and again mix with your hands until you have dough that you can roll out. Add flour if it's getting too sticky.

Place floured wax paper on your counter and roll out the dough on the paper (lightly flour the rolling pin, too) until it's about the thickness you want for your crust. Use a bowl to cut out circles of dough. My first roll-out made about three rounds - I prepped those, then rolled out the dough again and repeated the process. Do this until you've used all your dough. I had seven and a half pies by the end; I also had leftover filling. (If you want a bigger filling-to-crust ratio, you might make them larger so as to fit more filling.)

The filling process works this way: place your rounds of crust on an ungreased baking pan/sheet. Brush the circumference of each with your egg mixture, then spoon in some filling on one side of the round. Fold the other side of the round over the filling, and press the edges of the crust together. Use the back of a fork to make a design on the edges, and poke a couple of holes in the crust with the fork. Then, lightly brush more egg mixture over the top of the pie, and sprinkle with a little sugar.

Once the pies are filled, place them in the fridge for about 20 minutes while you preheat the oven to 375. Then place the baking sheet with the pies in the oven and cook until golden brown, about 20-30 minutes. Remove from the oven and allow to cool a bit. Then enjoy - eat them right from your hands!


Tuesday, June 1, 2010

Pasta Salad with Tuna; Fruit Salad


Summer weather usually calls for minimum stove time (although I generally find myself craving excessively hot food in the summer, and cold stuff in the winter), and this is the perfect recipe for that. Alls ya gotta do stove-wise is boil water for the pasta and the hard-boiled eggs. This was also a summer favorite my mom used to make when I was growing up. And just cuz we were feeling extra-healthy, Joef made a fruit salad for dessert, to boot.

PASTA SALAD WITH TUNA
1/2 farfalle or other similar pasta
1 handful snow peas
1 handful grape tomatoes, halved
1 small package baby carrots, cut into thin rounds
1 handful frozen peas, defrosted
2 hard-boiled eggs, halved and sliced
2 cans albacore tuna
Balsamic vinegar
Olive oil
Salt to taste
Grated parmesan for serving

Start the water for the pasta boiling at the same time as you start to boil the eggs. In the meantime, prep the ingredients, patting veggies dry as you wash them. Combine in a bowl and add the tuna. When the eggs are ready, run them under cold water to cool (before and after peeling), then slice and add to the other ingredients. When the pasta is ready, run it under cold water and drain well. Combine everything together and drizzle with olive oil, then add balsamic (I added about 2 capfuls - always less balsamic than olive oil). Add salt to taste, mix to combine. Serve with grated parmesan cheese.

FRUIT SALAD
Bananas, apples, blueberries, and nectarines, sliced and topped with a squeeze of lemon juice to prevent browning.

Friday, March 19, 2010

Belgian Waffles with Ice Cream Batter


This is Joef's creation, and it was seriously delicious! All you do is replace water in the boxed waffle mix recipe with melted ice cream. Truly decadent.

For 4-5 waffles, you'll need:

Krusteaz Belgian Waffle Mix, 3 cups
Eggs, 2
Oil, 1/3 cup
Melted vanilla ice cream, 1 cup (replaces water)

Blend the ingredients together with a whip, and you're ready to spoon it onto your waffle maker. When done, top with homemade whipped cream and fresh berries.